Role Based Access
Creating Role Based Access Controls
Over time your DreamFactory instance will likely manage multiple APIs. Chances are you're going to want to silo access to these APIs, creating one or several API keys for each. These API keys will be configured to allow access to one or some APIs, but in all likelihood not all of them. To accomplish this, you'll create a role which is associated with one or more services, and then assign that role to an API Key.
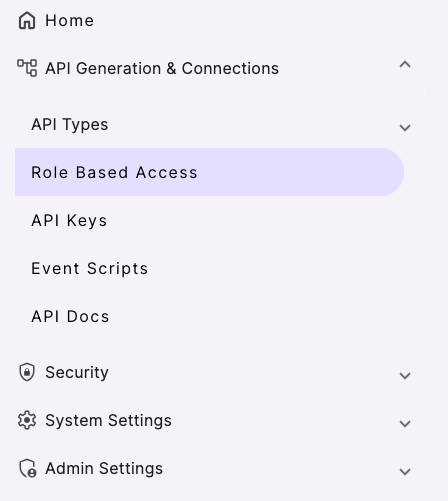
To create a role, in the left navbar click on the Role Based Access tab:

Click the purple + button to create a new Role. You are prompted to enter a role name and description. Unlike the service name, the role name is only used for human consumption so be sure to give it a descriptive name such as MySQL Role. There is an Access Overview section to identify the API(s) which should be associated with this service. The default interface looks like this:

The Service select box contains all of the APIs you've defined this far, including a few which are automatically included with each DreamFactory instance (system, api_docs, etc). Select the mysql service. Now here's where things get really interesting. After selecting the mysql service, click the Component select box. This select box contains a list of all assets exposed through this API! If you leave the Component select box set to *, then the role has access to all of the APIs assets. However, you're free to restrict the role's access to one or several assets by choosing for instance _table/employees/*. This would limit this role's access to just performing CRUD operations on the employees table! Further, using the Access select box, you can restrict which methods can be used by the role, selecting only GET, only POST, or any combination of methods.
If you want to add access to another asset, or even to another service, just click the plus sign next to the Advanced Filters header, and an additional row is added to the interface:

Use the new row to assign another service and/or already assigned service component to the role. In the screenshot you can see the role has been granted complete access to the mysql service's employees table, and read-only access to the departments table.
Once you are satisfied with the role's configuration, click Save to create the role. With that done, it's time to create a new API Key and attach it to this role.